Garden Stack Usage Guide
Everything you need to know to get growing with your self-watering planter
Getting Started
Setting up your Garden Stack is quick and simple. Follow these three steps and you'll be growing in no time.
Assemble
Stack the modules together — Part 1 connects to Part 2, and so on. No tools required. Takes about 2 minutes.
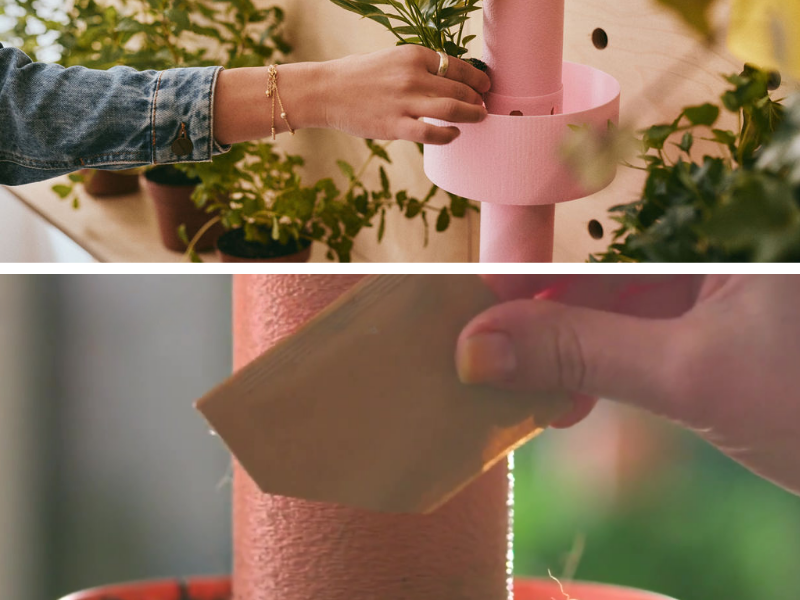
Plant
Fill each module with soil and add your seeds or seedlings directly. Works with any standard potting mix.
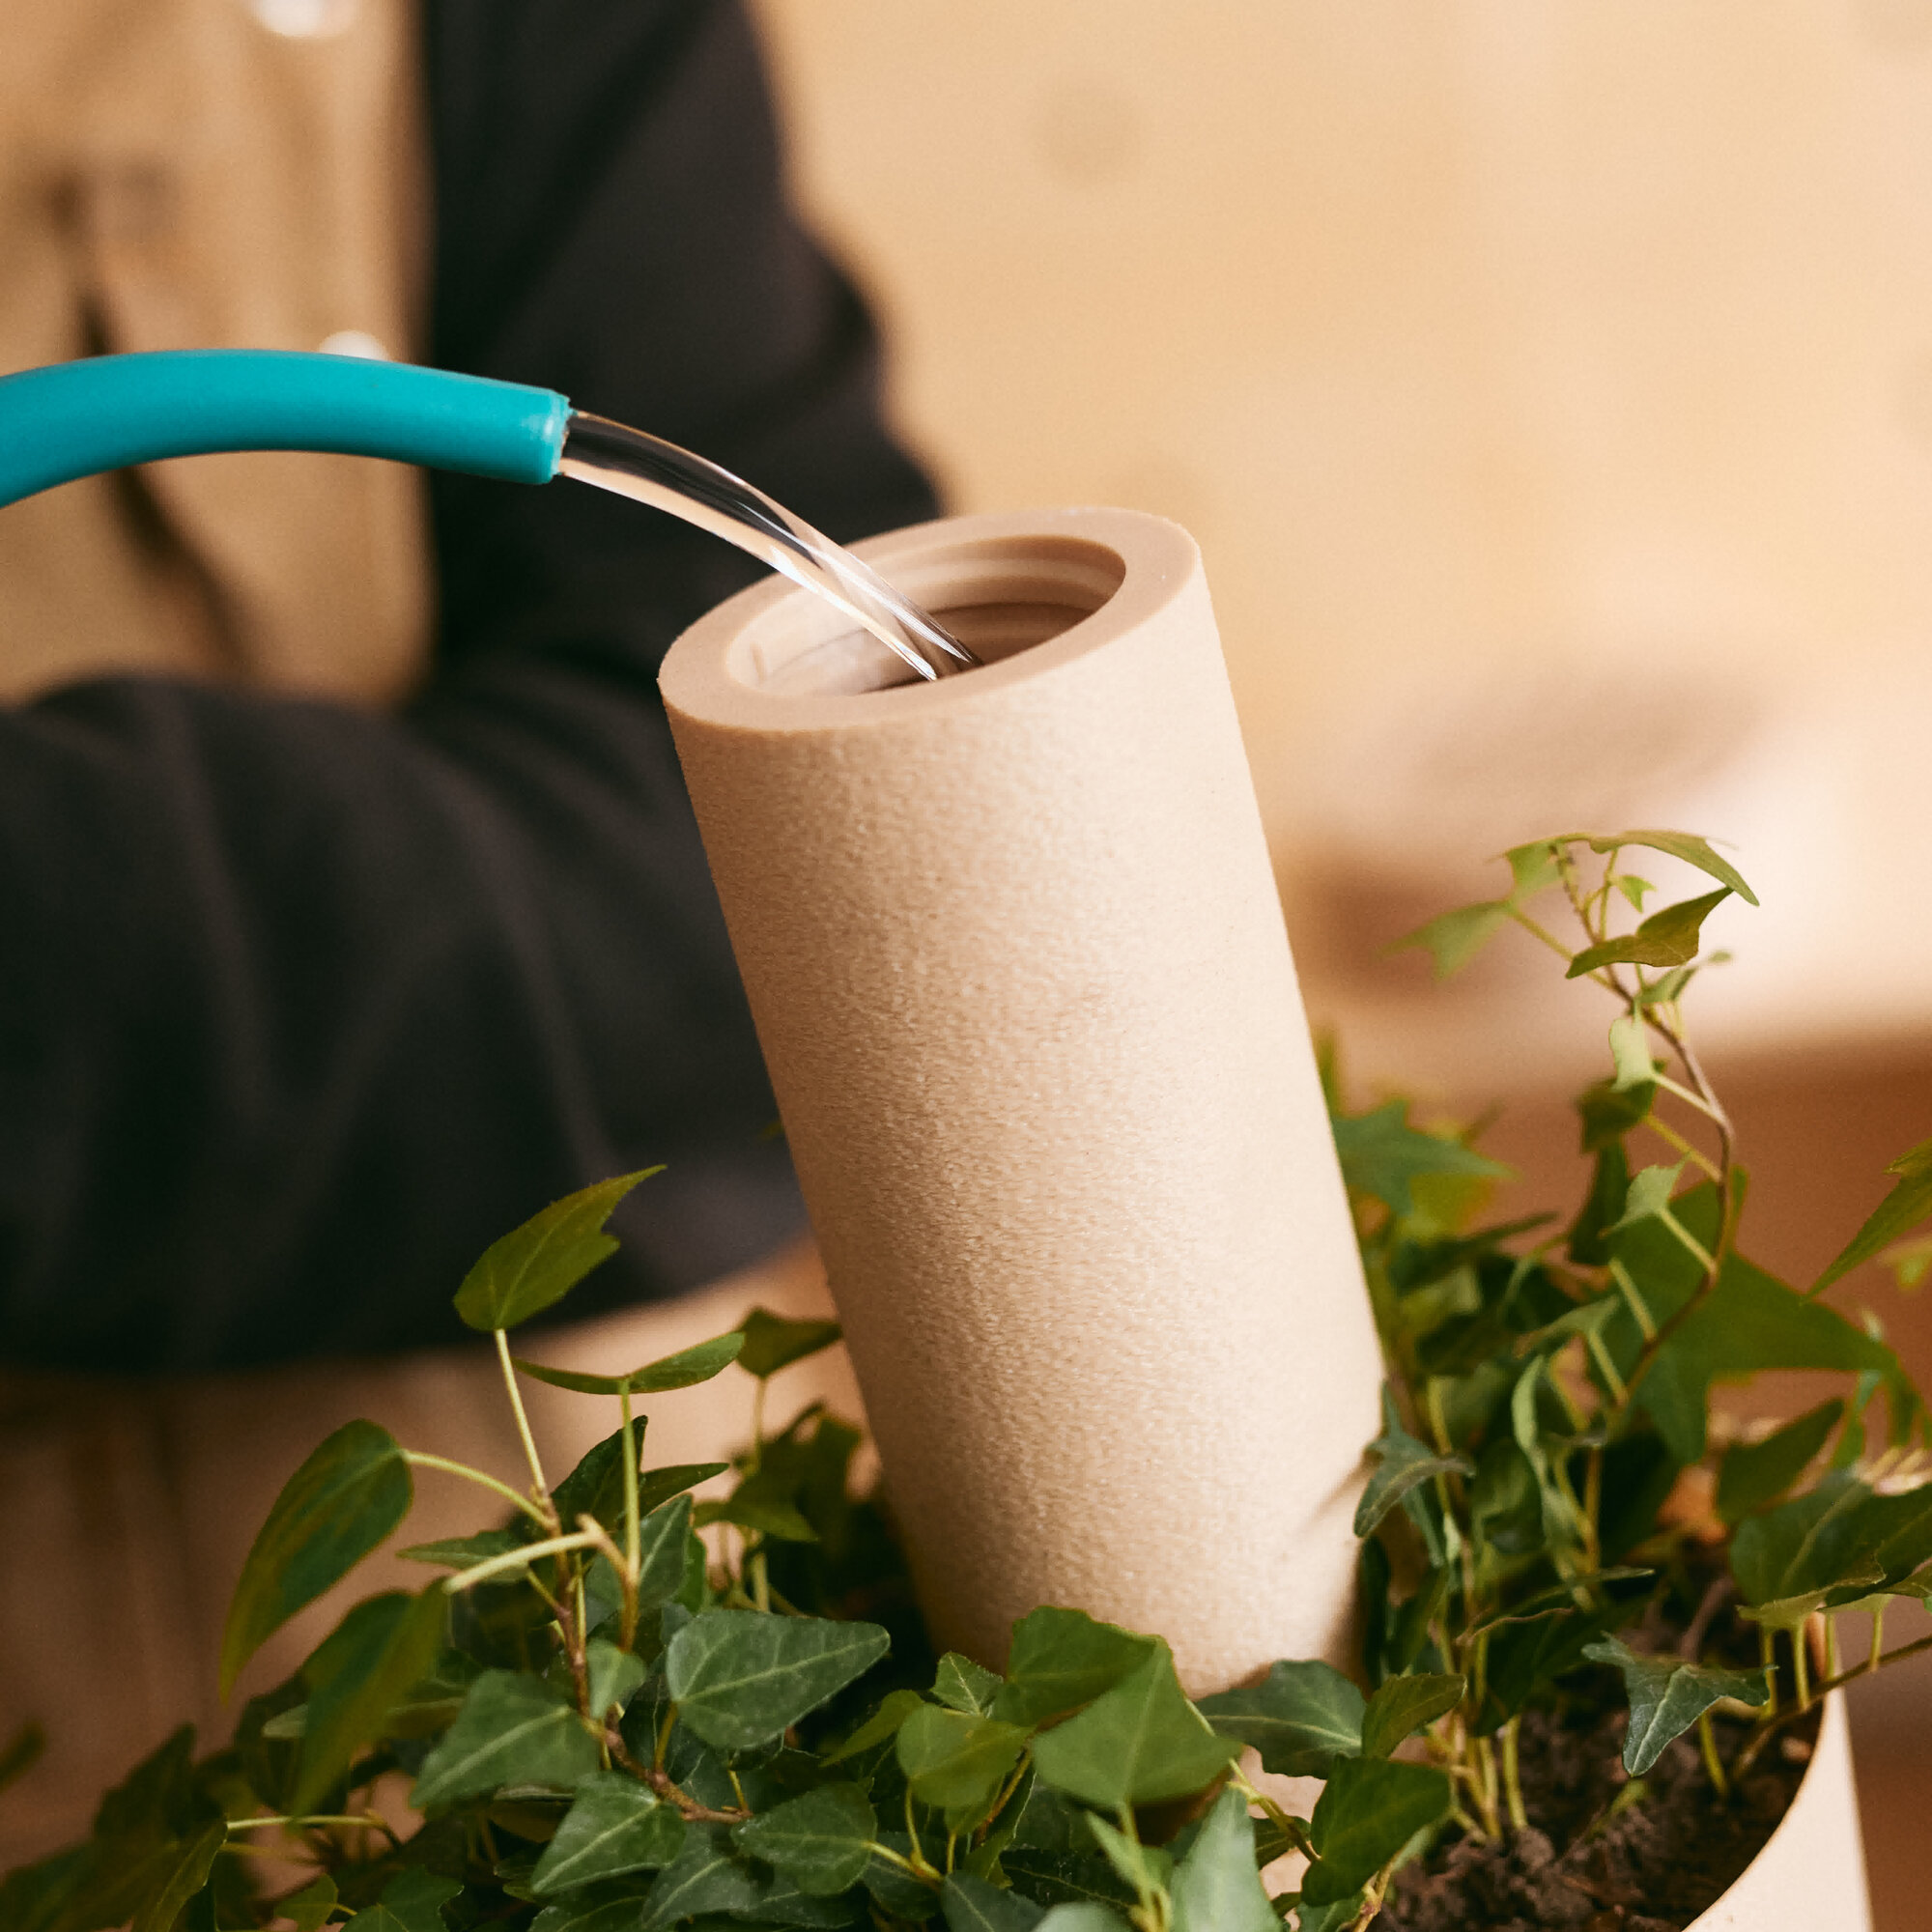
Water
Fill the reservoir with water. The self-watering system takes over from here, keeping your plants hydrated for weeks.
Growing Tips
Get the most out of your Garden Stack with these practical tips.
Sunlight
Place your Garden Stack where it gets at least 6 hours of light daily for vegetables, or 4 hours for herbs and leafy greens.
Soil Choice
Use a well-draining potting mix. Avoid heavy garden soil — it can block the self-watering capillary action.
Refilling
Check the water level indicator weekly. In summer, you may need to refill every 1-2 weeks. In cooler months, every 2-4 weeks.
Feeding
Add liquid fertiliser to the reservoir once a month during the growing season for best results.
What Grows Best
Garden Stack is ideal for herbs (basil, mint, parsley), leafy greens (lettuce, spinach, rocket), strawberries, cherry tomatoes, peppers, and most compact vegetable varieties. It also works well for ornamental flowers and succulents.
Indoor vs Outdoor
Garden Stack works both indoors and outdoors. For indoor use, place near a bright window or under a grow light. For outdoor use, the planter is weather-resistant and can stay outside year-round in most European climates (bring indoors if temperatures drop below -5°C).
Maintenance
Garden Stack requires minimal maintenance. Simply keep the reservoir filled and clear any debris from the water inlet. At the end of the growing season, empty and rinse the modules before storing or replanting.